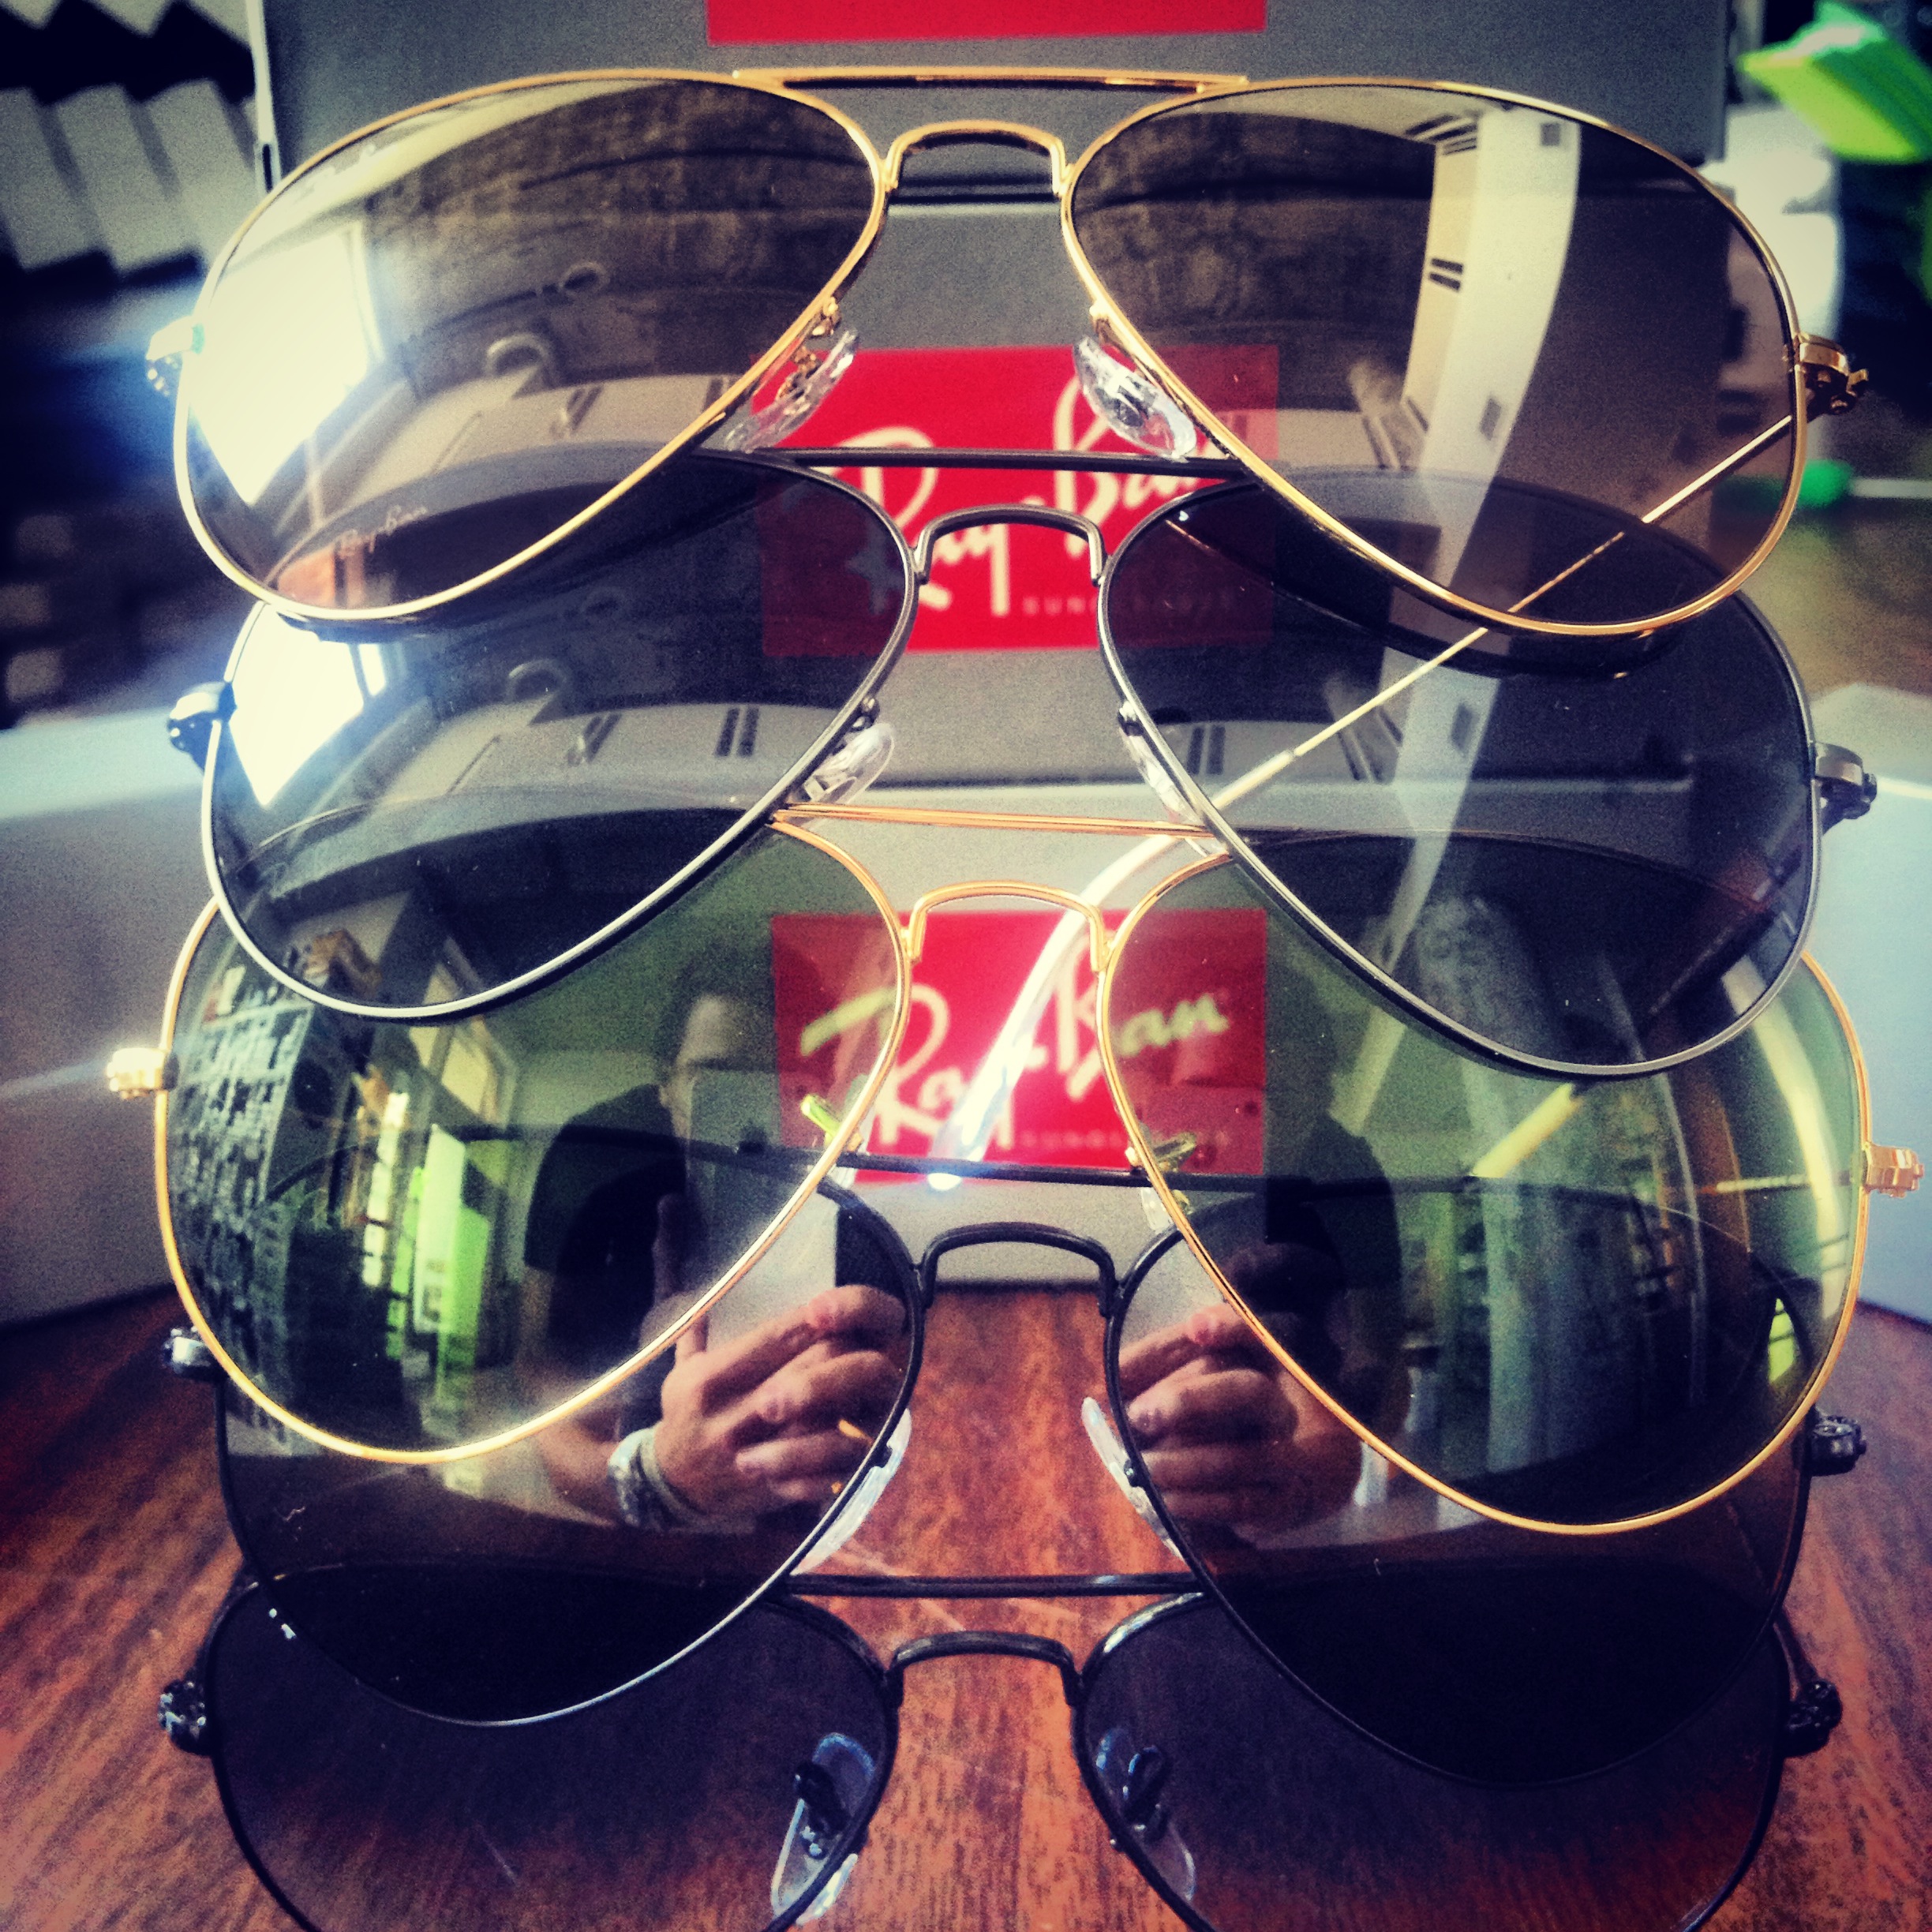
As one of the most recognized sunglasses styles in the world, the Ray-Ban Wayfarer sunglasses are iconic. Whether you have a scratched lens or just want a different color to match your outfit, changing the lenses in your Ray-Ban Wayfarer is super easy!
Typically replacing the lenses usually costs a lot less than replacing the whole pair of sunglasses. Once you’ve purchased replacement lenses for your Ray-Ban sunglasses, you’re just a few simple steps away from having a fully functional pair of sunglasses again.
HOW TO ORDER THE RIGHT LENS:
Ray-Ban wayfarer lenses vary in sizes (47,50 & 54) so it’s important that before you replace the lens that you actually make sure to order the correct size. You will need the following two numbers in order to ensure you are ordering the correct lens.
1. Style #
2. Lens Size
See Diagram below with an example on where to find the style and lens size on your Ray-Ban Wayfarer.

How to Easily Remove and Install Replacement Lenses
- Remove Old Lenses
Holding your Ray-Ban Wayfarer sunglasses firmly by the nosepiece. Grasp them with the outside lenses facing you and the earpieces pointing away. Press the frames outward gently with your thumbs–keeping a light tension with your fingers–until the lens pops out of the frame. It might take some steady pressure to get the lens out, but hold onto to nosepiece and corner of lens frame supporting the frame so it doesn’t snap, then bend out a little and push the lens away from you.
*TIP: If you are unable to remove your lenses we recommend you apply heat to the frames helps loosen it up. Simply fill a sink with hot tap water, and hold lens area of the sunglasses frames underwater (fill with hot running water from the sink faucet; NOT boiling water). Keep under water for 30 seconds. Repeat process above.
- Insert New Lenses
Turn the glasses around so that the earpieces point toward you. Place the new lens on the inside of the frame, against the opening where it should be installed. Wrap your fingers around the frame. Place both thumbs against either side of the lens, and press gently and evenly until it pops into place. Apply pressure around the edges of the new lens–still working from inside the glasses–to make sure it’s firmly seated all the way around.
- Clean Your Lenses
After successfully replacing your lenses make sure to clean them off with some eyeglasses cleaner spray. Gently rub both sides of the lenses and all part of the frame so your lenses will be crystal clear!
About Ray-Ban Repair:
ShadesDaddy.com is one of the largest internet retailers of Ray-Ban lenses and temples for repair. We order parts directly from Luxottica (the manufacturing company and owner of Ray-Ban,) and pass this service on to the customer.
In order to purchase parts from us, you do not need your sunglasses to be under warranty. However, please note, we are not able to get any Ray-Ban parts that were manufactured during the period that they were manufactured by its past owner, Bausch & Lomb.